Roadmap: how to install a pendant lamp?
Installing a pendant lamp may seem like a challenging job, but with the right guidance, it can be a quick and satisfying DIY project. In this blog, the experts at Atmooz will guide you step by step through the process, from choosing the right location to safely connecting the wiring. Whether you are an experienced handyman or just starting out, our detailed instructions and helpful tips will ensure that you will soon enjoy a perfectly installed pendant light in your home. Let's get started!
Step-by-step instructions for hanging a pendant lamp
Step 1: Choose the right location
Before starting the installation, it is important to determine the perfect location for your pendant lamp. Consider the following aspects:
- Light distribution: Make sure the lamp provides enough light to the desired space.
- Height: The lamp should not hang too low so that you don't bump into it.
- Aesthetics: Choose a spot where the lamp will look good.
Step 2: Switch off the power
Safety first! First switch off the power in the room where you are going to install the pendant lamp. Check with a voltage tester that there is no current left on the wires to avoid accidents.
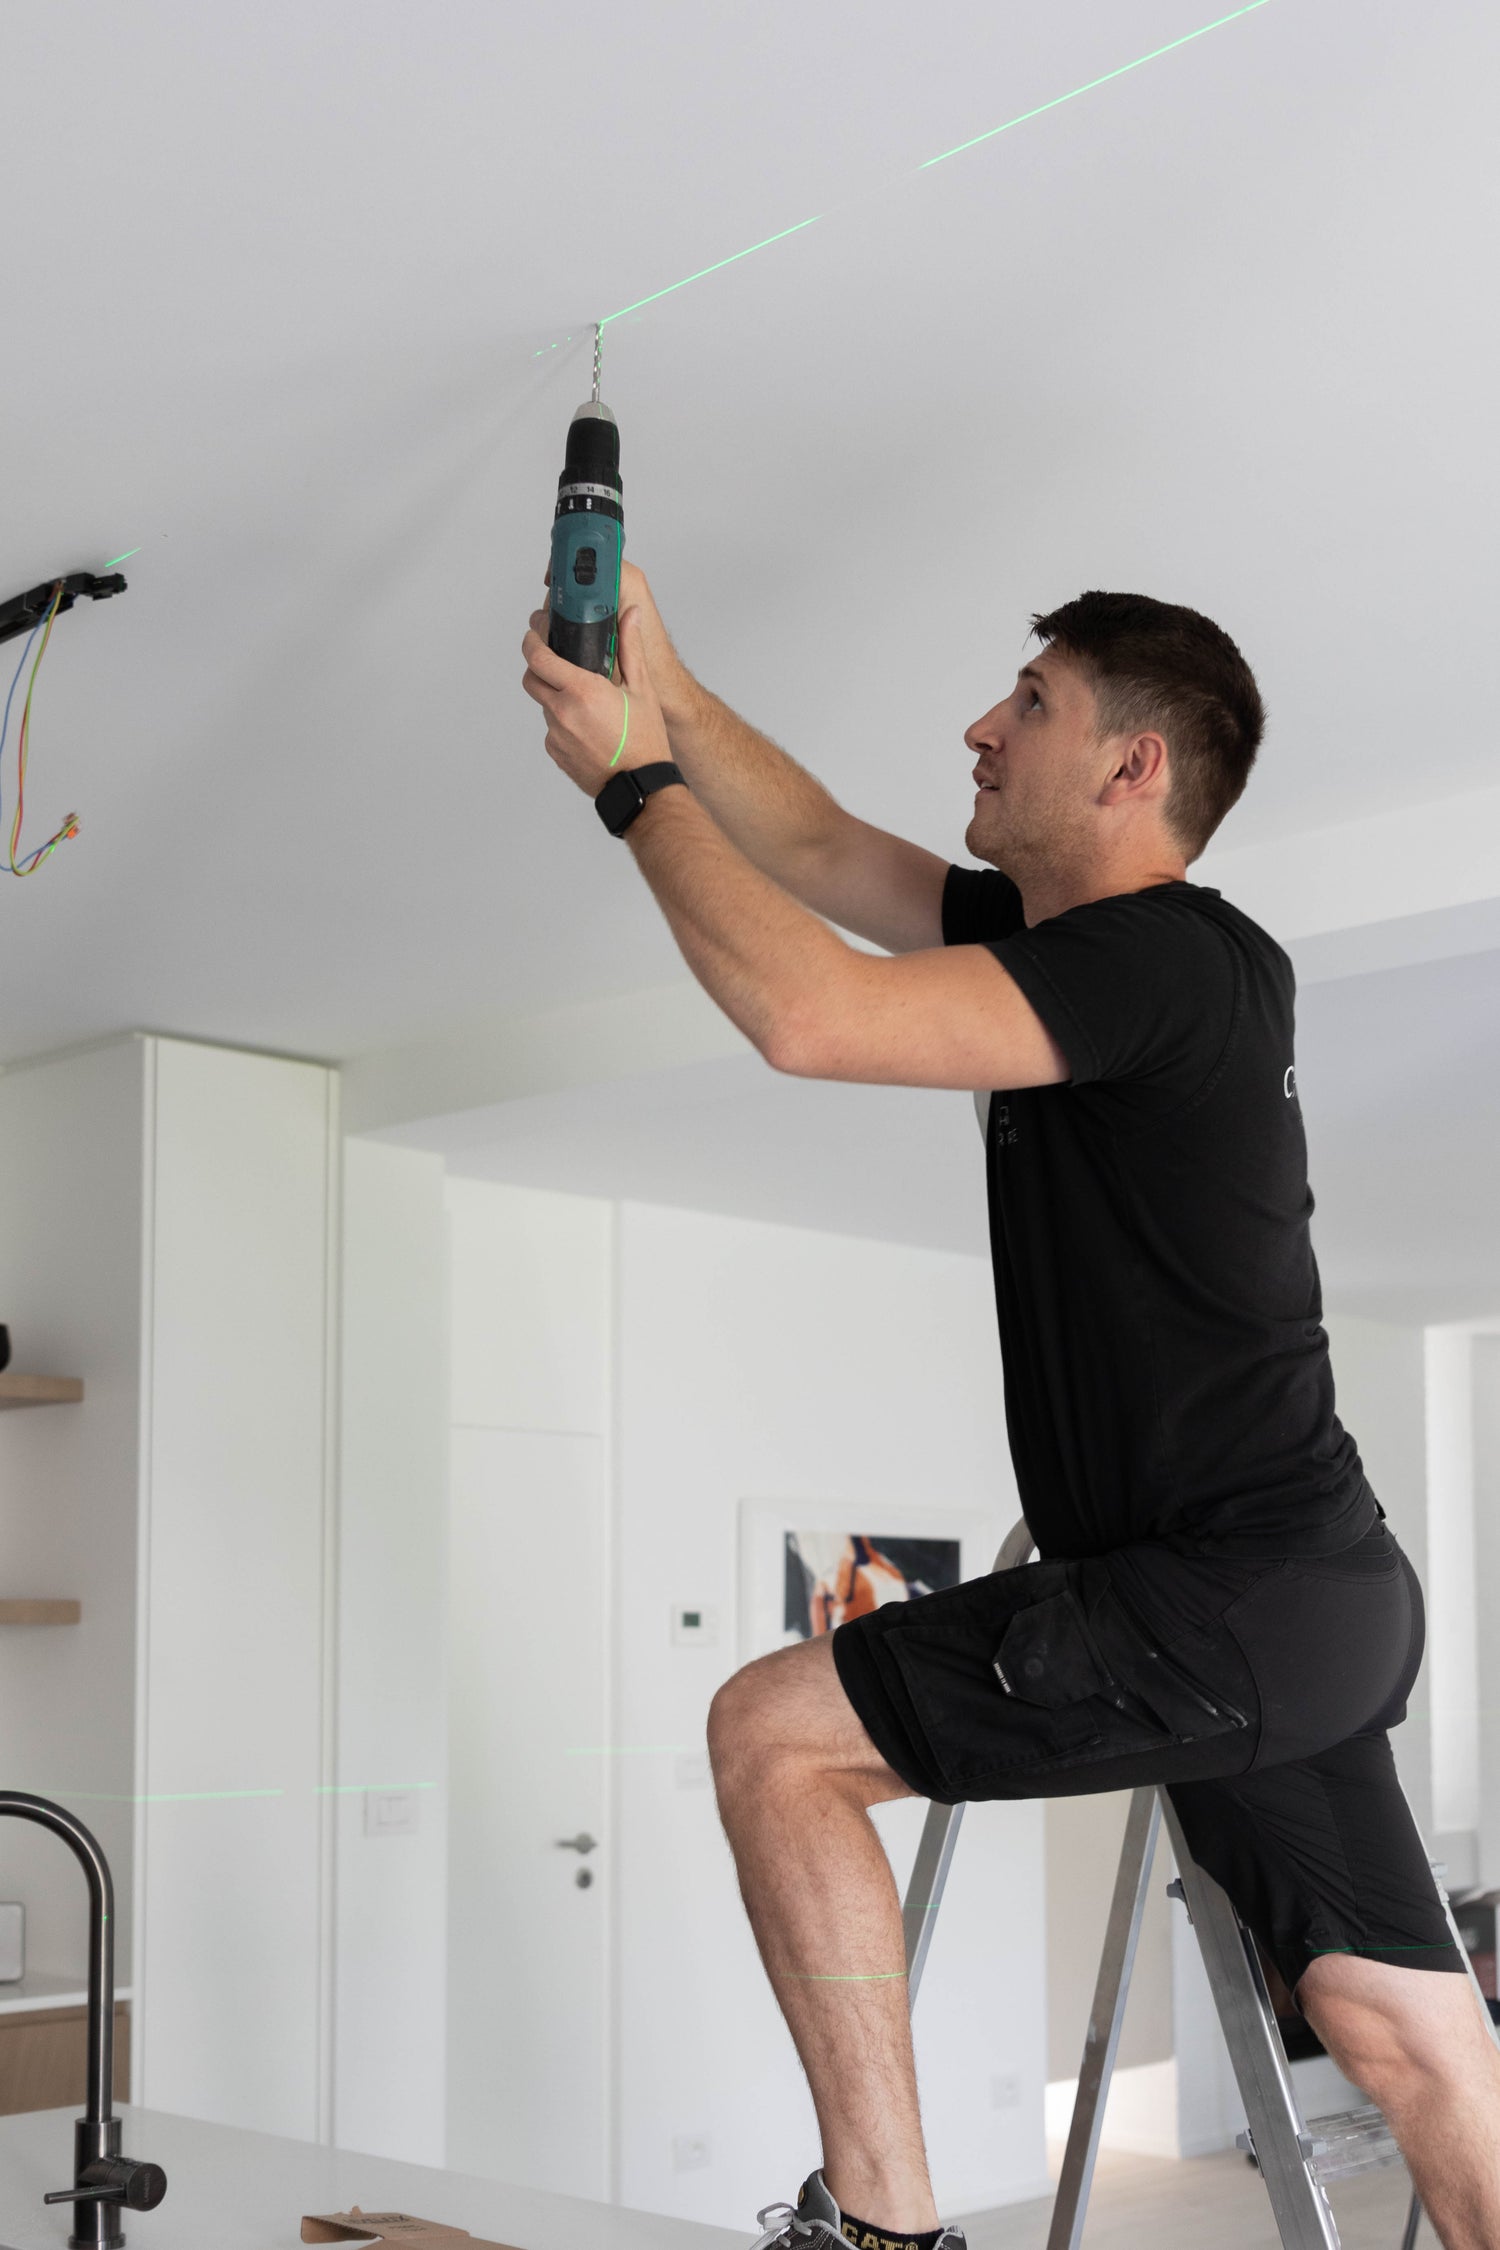
Step 3: Preparatory work
- Measure the distance: Measure the distance from the ceiling to where you want the pendant lamp to hang.
- Mark the spot: Mark the point on the ceiling where you want to drill.
- Drill holes: Drill holes at the marked points. Use the right plugs and attach a mounting plate if necessary.
Step 4: Attach the suspension bracket
Fix the suspension bracket or plate firmly to the ceiling with screws. Check that it is secure, as this is the base with which your lamp will hang securely.
Step 5: Connect the wiring
Follow the steps below to safely connect the wiring:
- Connection terminals: Use the terminals to connect the wiring of the lamp to that of the ceiling. Connect the brown or black wire to the phase line (L), the blue wire to the neutral line (N) and yellow/green wire to the earth wire.
- Attach the wires: Make sure the wires are secure and have no loose ends.
Step 6: Mount the pendant lamp
Mount the pendant lamp to the suspension bracket or plate. Check that it is firmly attached and gently pull the lamp to make sure everything is secure.
Step 7: Turn on the power and test
Turn the power back on and test the pendant lamp. Does the lamp work properly and is it firmly attached? Congratulations, you have successfully assembled your pendant lamp!

Find your pendant lamp on Atmooz.com!
Have you successfully completed these steps and got excited to light up your home further? Then be sure to check out the beautiful collection of pendant lamps on Atmooz.com. Our pendant lamps are stylish and can be easily installed yourself following the instructions above. Don't wait any longer and upgrade your interior with Atmooz's atmospheric lighting.


