
How do you hang a ceiling lamp?
Hanging a ceiling lamp can seem like a challenging job, but with the right instructions and a little patience, it's a project you can do yourself. In this blog, we will guide you step by step through the process. Whether you are hanging a ceiling lamp or a pendant lamp, Atmooz's instructions will ensure you can tackle this job with confidence.

What do you need?
Before you start hanging a ceiling lamp or ceiling light, it is important to have all the necessary tools and materials to hand. Below is a checklist of what you need:
• Screwdriver: A cross-head screwdriver is often the most useful.
• Drill bit: To drill holes in the ceiling for fixing screws.
• Dowels and screws: For securing the lamp securely.
• Wire stripper: For safely removing insulation from wires.
• Ladder or sturdy stairs: To work safely.
• Voltage detector: To make sure there is no current on the wires.
• Ceiling cap: To conceal the connections
• Ceiling lamp: To finish off the connections neatly.
Now that you have all the materials, we can get started!

Step-by-step instructions for hanging a ceiling lamp
Below are the step-by-step instructions for hanging a ceiling lamp.
Step 1: Preparation
•Switch off the power: Before you start working, switch off the power in the meter box to avoid accidents. Use the voltage detector to check that there really is no power left on the wires.
Step 2: Mark the fixing points
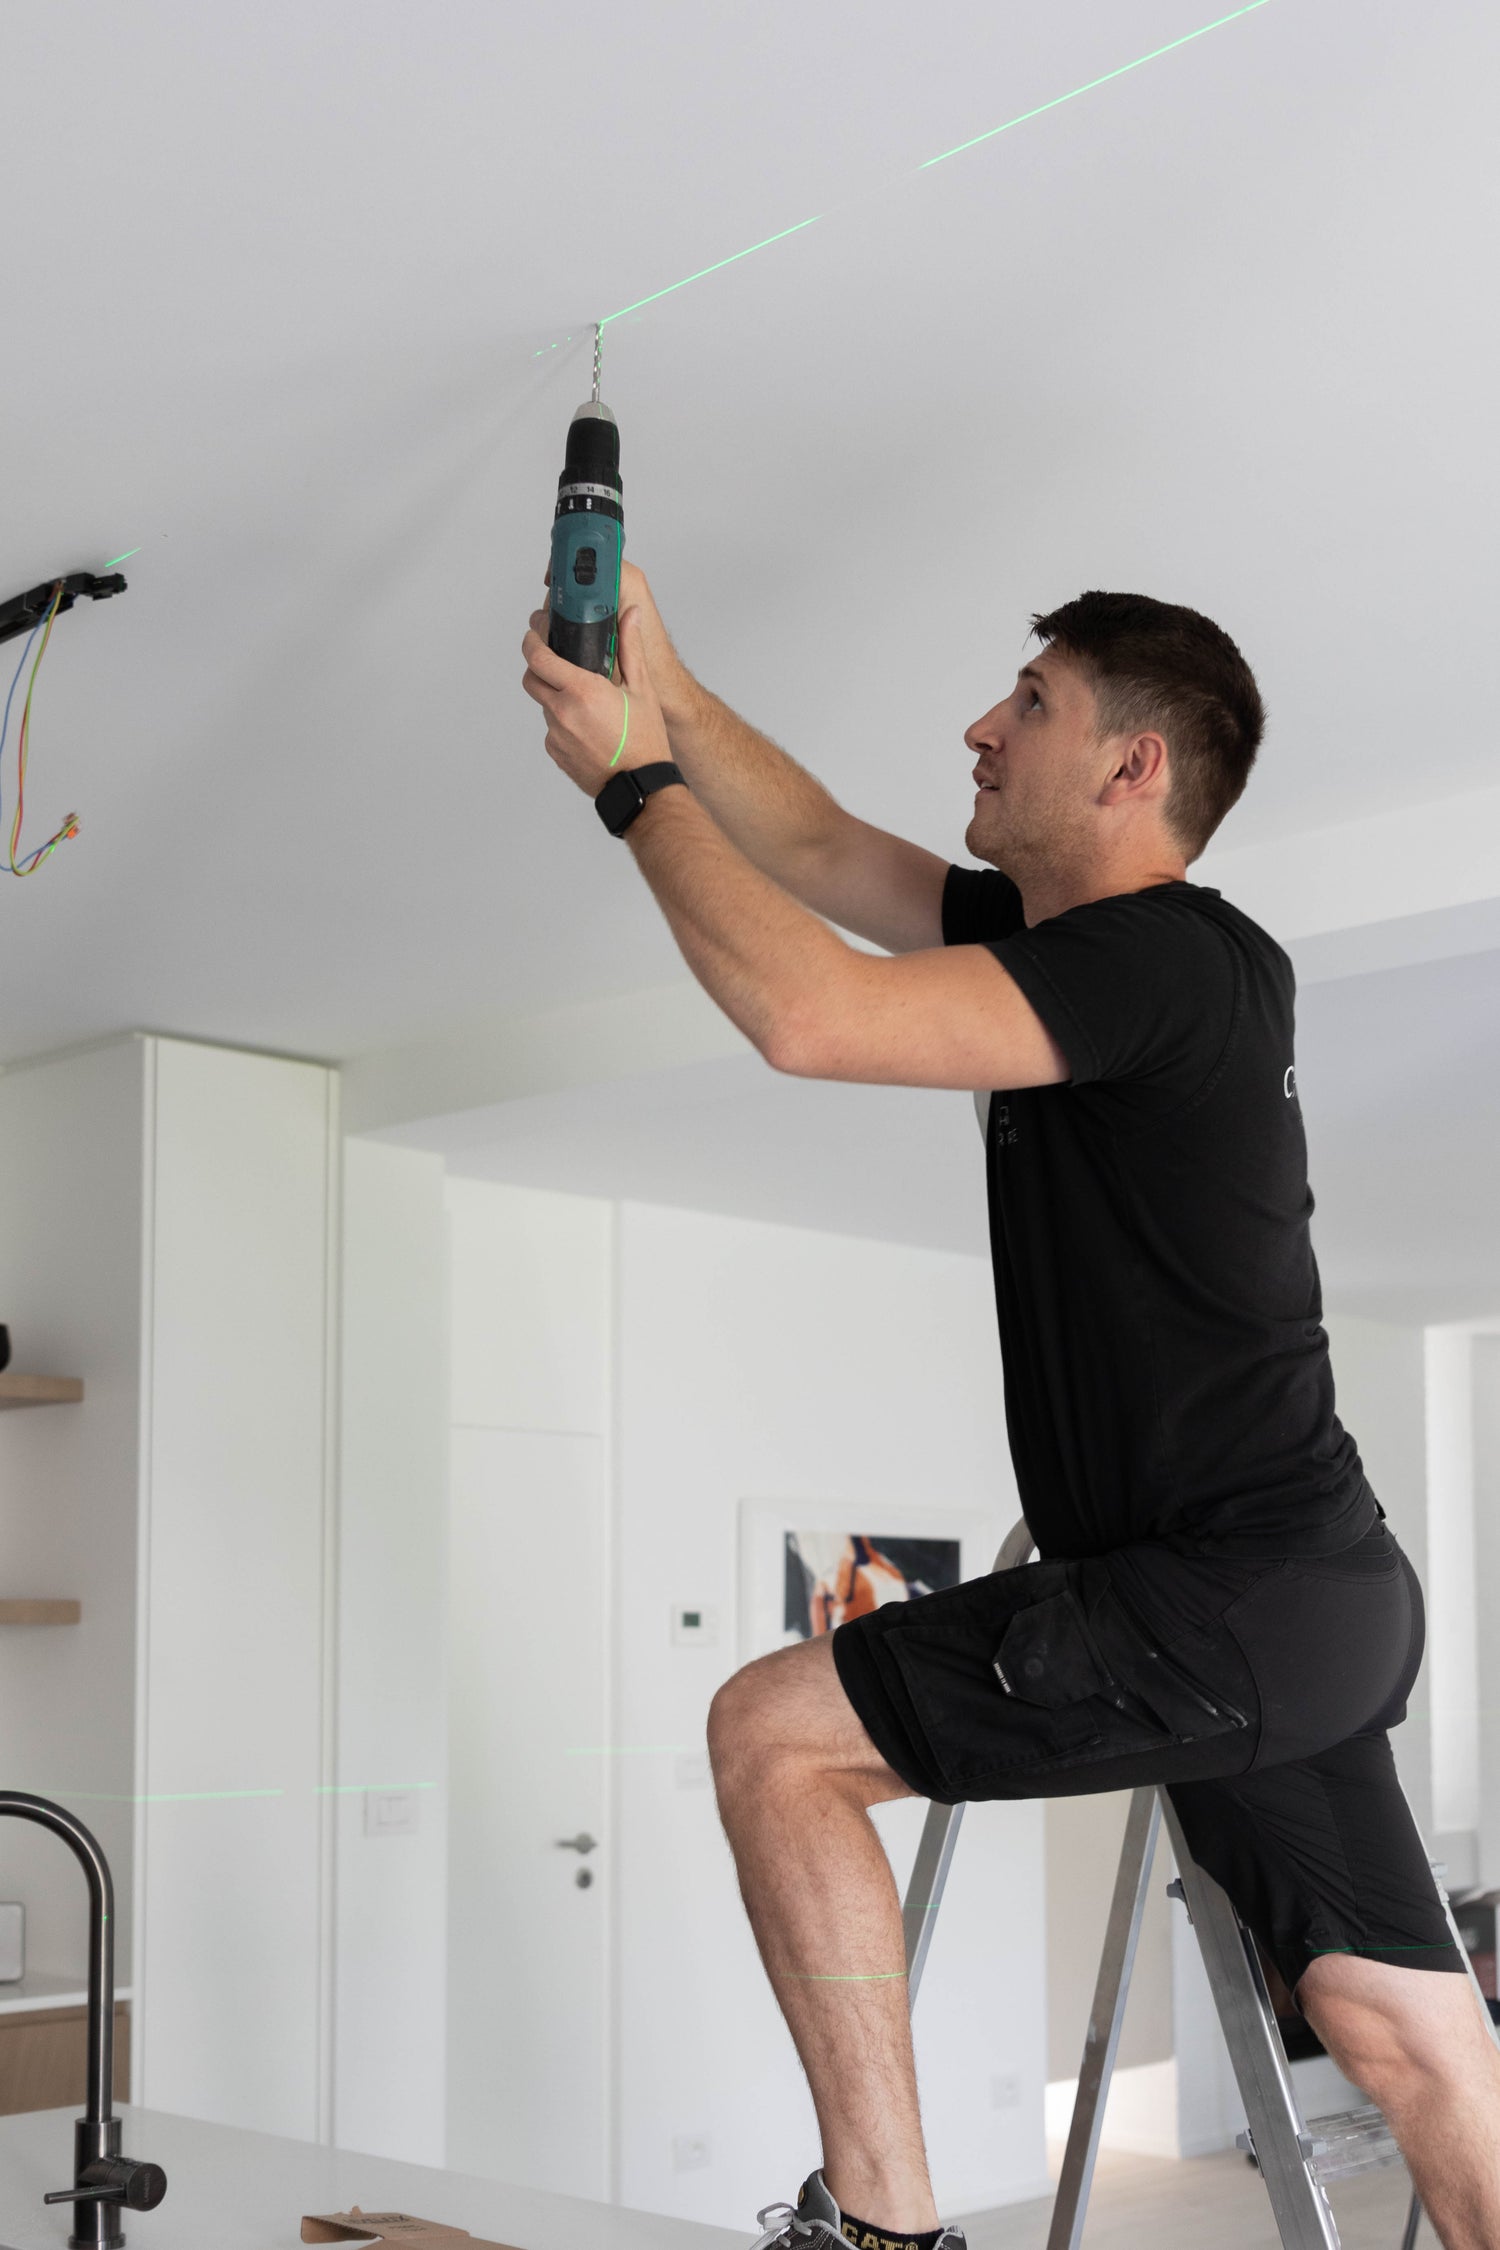
•Mark the fixing points: Use the ceiling cap as a template to mark the spots where you will drill. Make sure the markings line up with the fixing holes of your lamp.
Step 3: Drilling holes
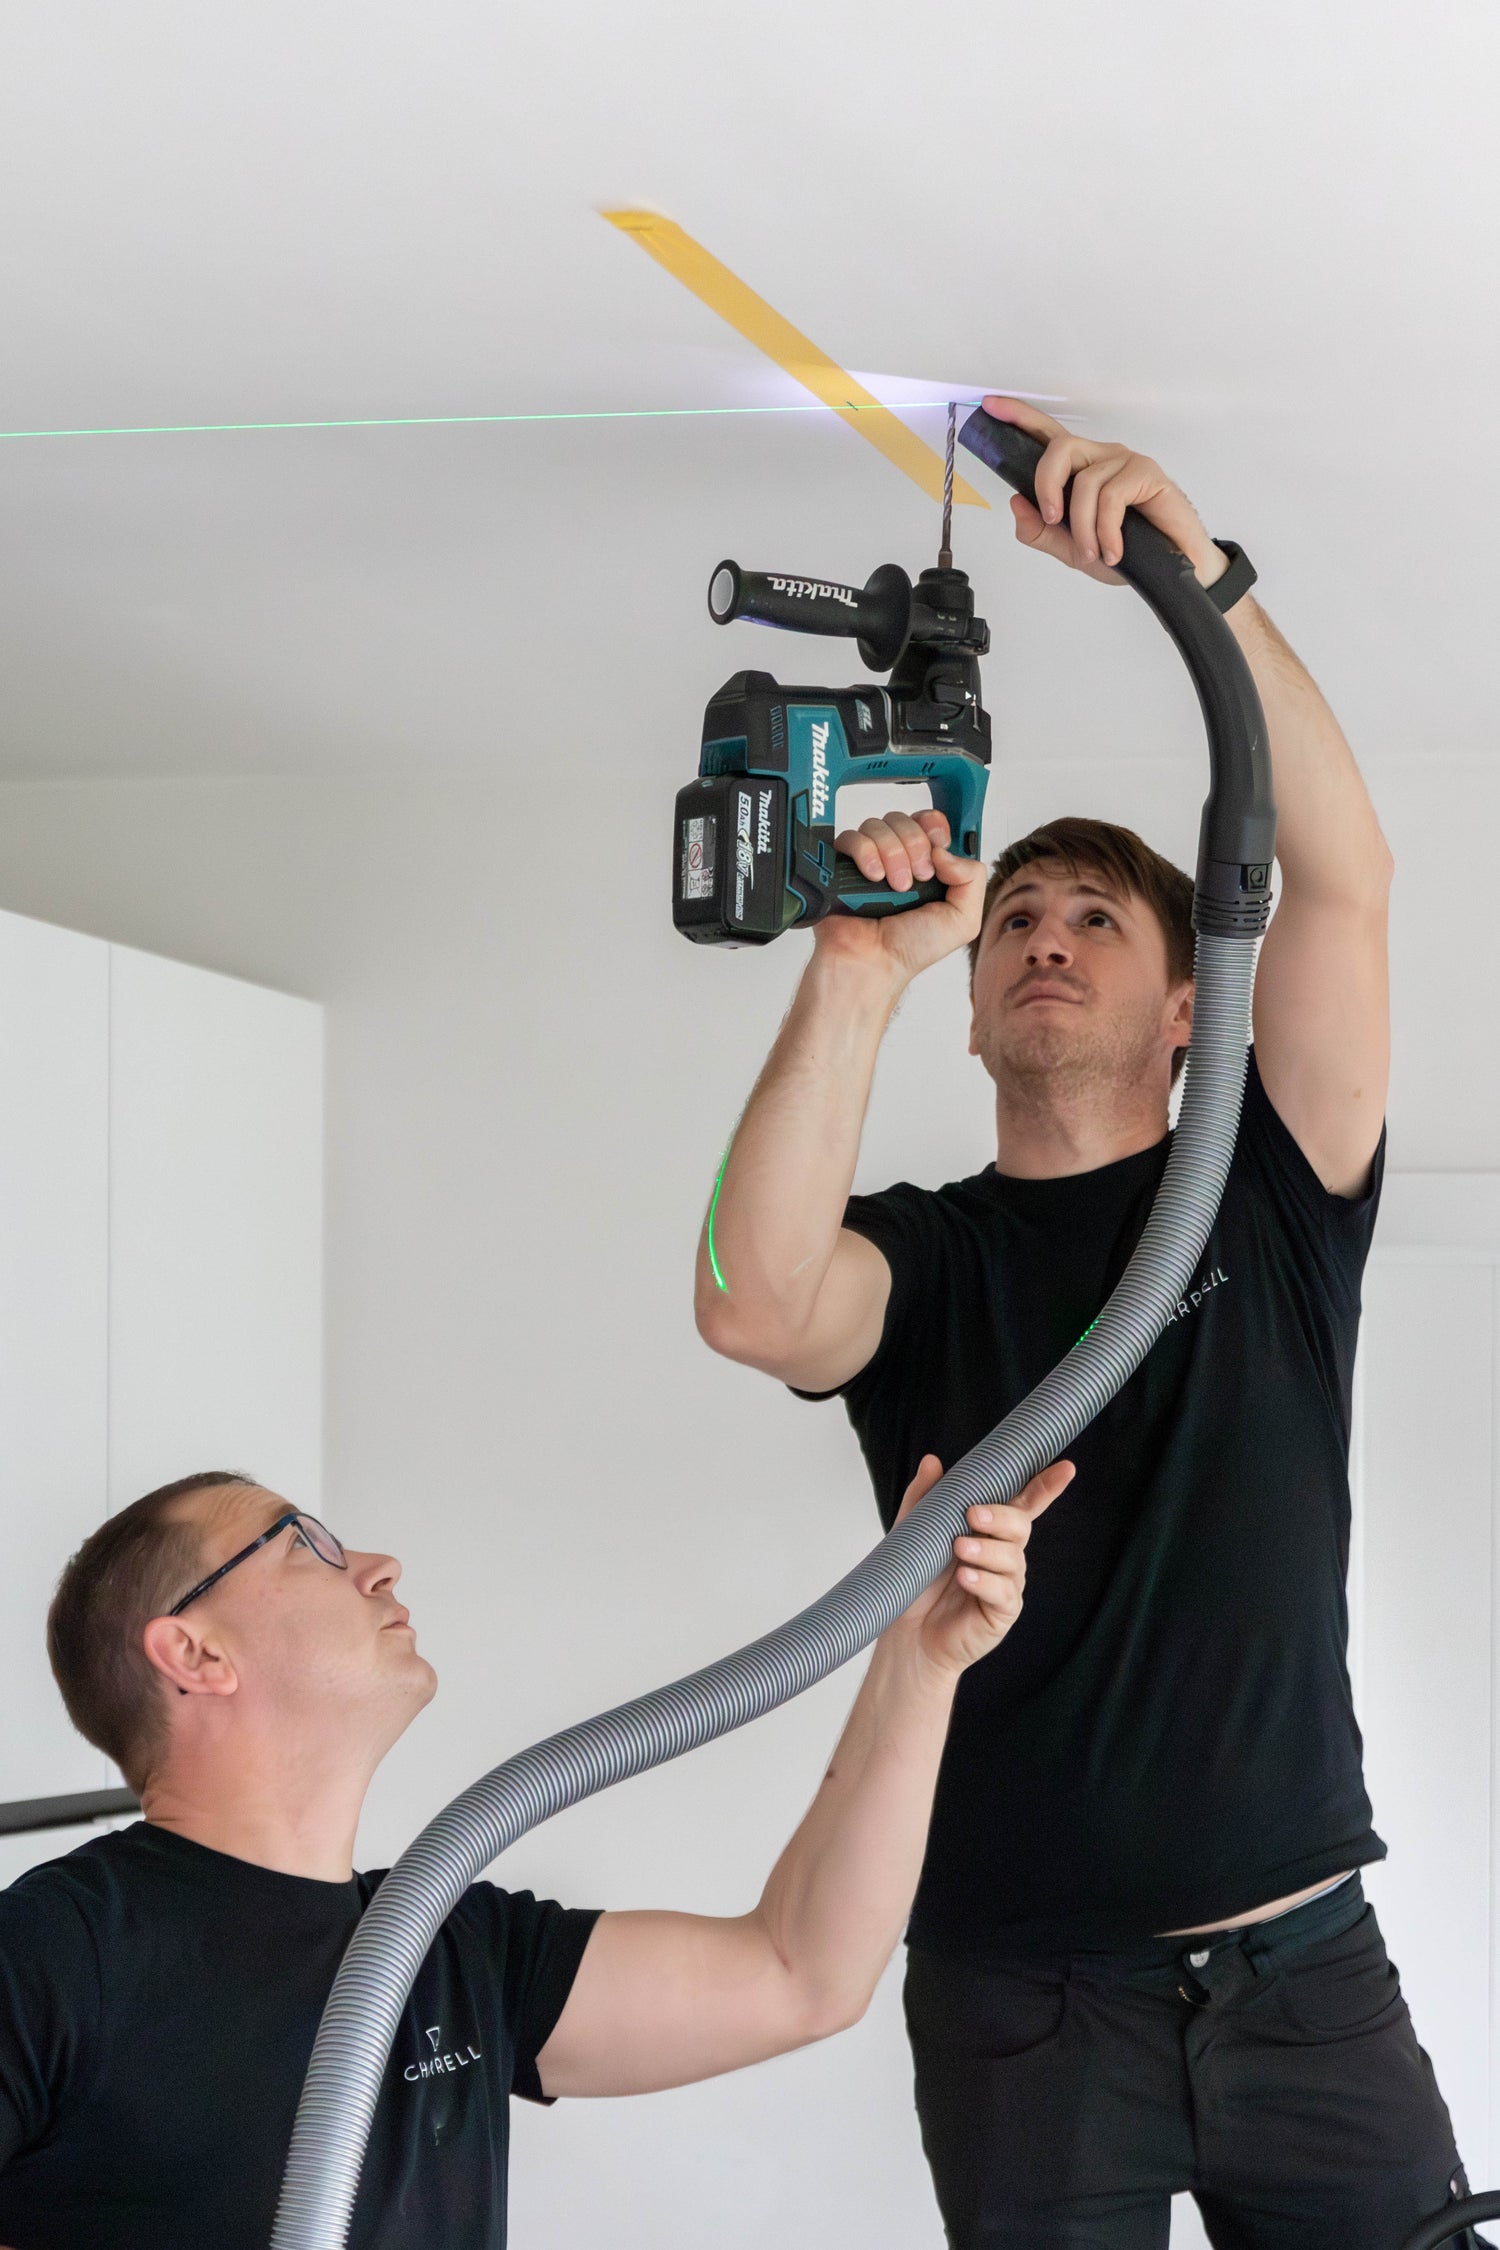
•Drill the holes: Use a drill with the right size for the plugs you will use. Drill at the marked points and then insert the plugs into the holes.
Step 4: Preparing the wires
•Strip the wires: Use the wire stripper to remove about 1 cm of the insulation at the end of the wires. This will allow you to connect the wires easily later.
Step 5: Fixing the ceiling plate
•Screw the fixing plate: Place the lamp's fixing plate against the ceiling and screw it into the just-drilled plugs.
Step 6: Connecting the Electricity
•Connect the wires: Connect the wires from the lamp to the power wires in the ceiling. Often the wires are colour-coded: blue for neutral, brown for phase, and yellow/green for earth. The idea is to connect the same colour wires together. Make sure that the connections are solid and use terminal blocks if necessary.
Step 7: Mounting the lamp
•Mount the lamp: Attach the lamp to the mounting plate according to the manufacturer's instructions. This may vary depending on the type of lamp.
Step 8: Finishing
•Fit the ceiling cap: Slide the ceiling cap against the ceiling to neatly conceal the connections. Attach the shade according to the manufacturer's instructions.
Step 9: Testing
•Turn on the power: Turn the power back on in the meter cupboard and test the lamp. If everything is connected correctly, the lamp should work.

Hang your ceiling lamp from Atmooz yourself!
Now that you know how to hang a ceiling lamp or pendant lamp, it's time to pick out a beautiful lamp to complete your interior. Visit Atmooz.com for an extensive collection of stylish and high-quality ceiling spotlights and pendant lamps. Challenge yourself, use this guide, and enjoy the accomplished feeling that comes with a successful DIY job.


